Introduction: Time to Build
Our goal at Revaly is to improve the quality, and efficiency of 3D Collaboration.
We have been hard at work and we’re thrilled to introduce a number of updates, including some of our most requested features such as Measure Tool Snapping, Assembly Auto-Coloring, and even the ability to display certain Full-Color Models (with Materials!).
Settings
In this update, we added a more robust settings page, both for organizations and your account. You can get to the new settings page by clicking your avatar in the dashboard or clicking the gear inside a space and opening “account settings.”
Inside this page, you can now change your image and your name and adjust your notification settings.
For organization owners, you can now access your organization profile, where you can change your organization name and image and view a list of users and their permission levels.
Real BREP Edges
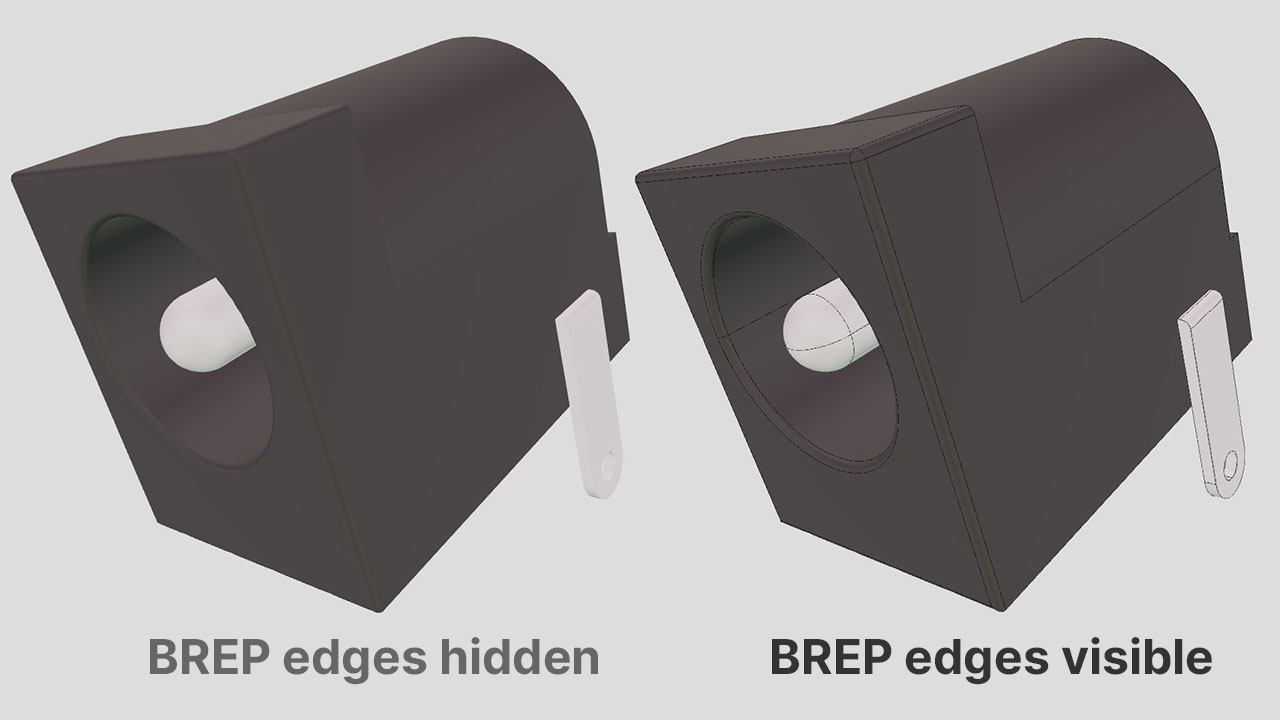
People with a keen eye for detail may have noticed that some of the edges rendered by Revaly’s viewer used to be either missing or kind of… off. This is because our viewer used to guess what the BREP curves for parts were — and we couldn’t always guess right. In the newest release, we added features to carefully extract, save, track, and display the actual BREP for any part that has it. You can see the difference below:
New Experimental Features
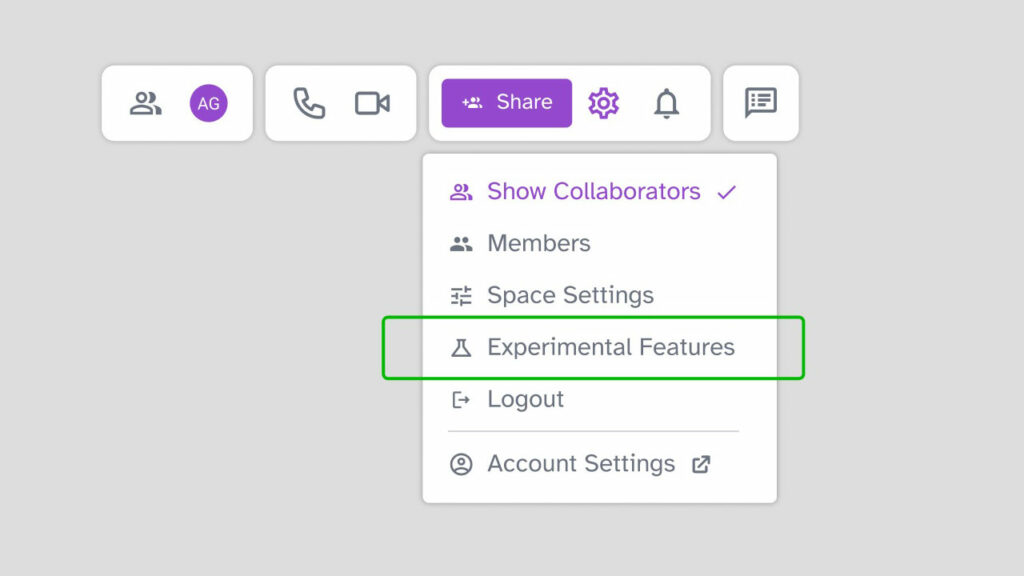
This release includes three of our most asked-for features in a preview state. You can turn them on in the Experimental Features menu, which you can access under the gear in the top right of any Revaly Space.
Part Colors / Materials
Update: 3D files with color will display with color by default in Revaly.
Enable the File Part Colors/Materials experimental setting to turn on this feature.
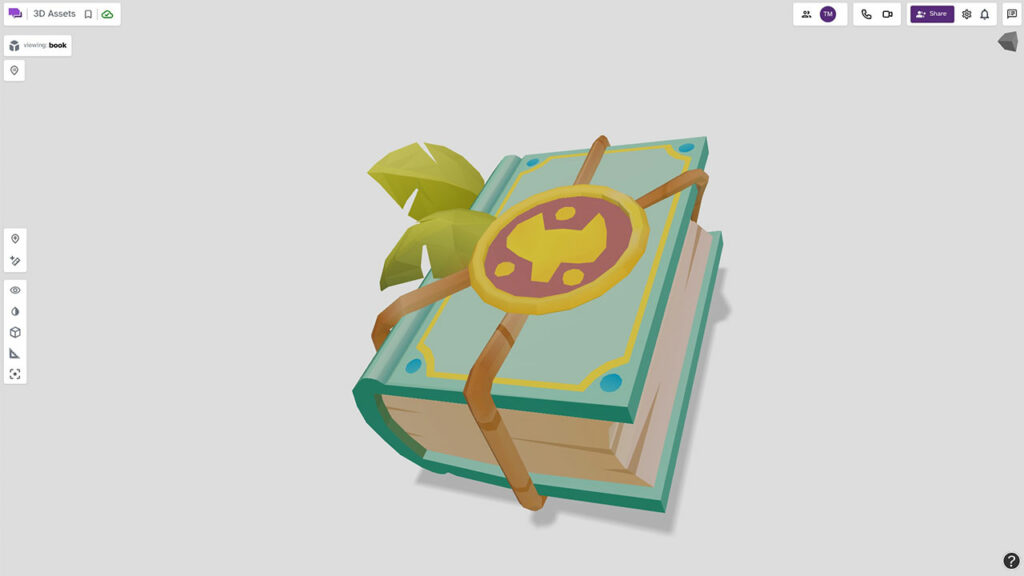
If you made your part with color — why shouldn’t it show up in Revaly that way?
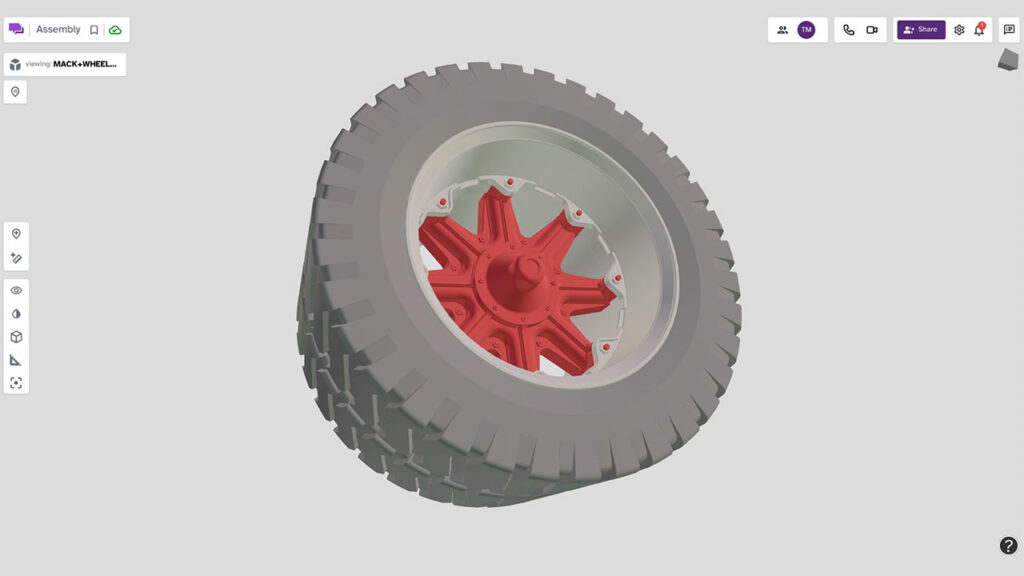
Auto-Colored Assemblies
Update: Assemblies are now colored by default in Revaly.
To enable this feature, turn on Assembly Auto-Colors in the Experimental Settings (under the Settings “Gear” icon in any Revaly Space).
Another popular feature request, you can now opt-in to Automatic Assembly Coloring. When this feature is enabled, any part in Revaly will be automatically colored based on its position in the Part-Tree, to help distinguish it from other parts in the Space.
Measure Tool Snapping & Highlighting
You’ve been asking for it so much, and we’re giving it to you as a preview.
Update: Measure snapping and highlighting are now on by default in Revaly.
You can turn this feature on in the experimental settings by clicking on the Setting icon in the upper right and then selecting Experimental Features. In the modal window, toggle on Snap to Edge on Measurement and Highlight Edge on Measurement.
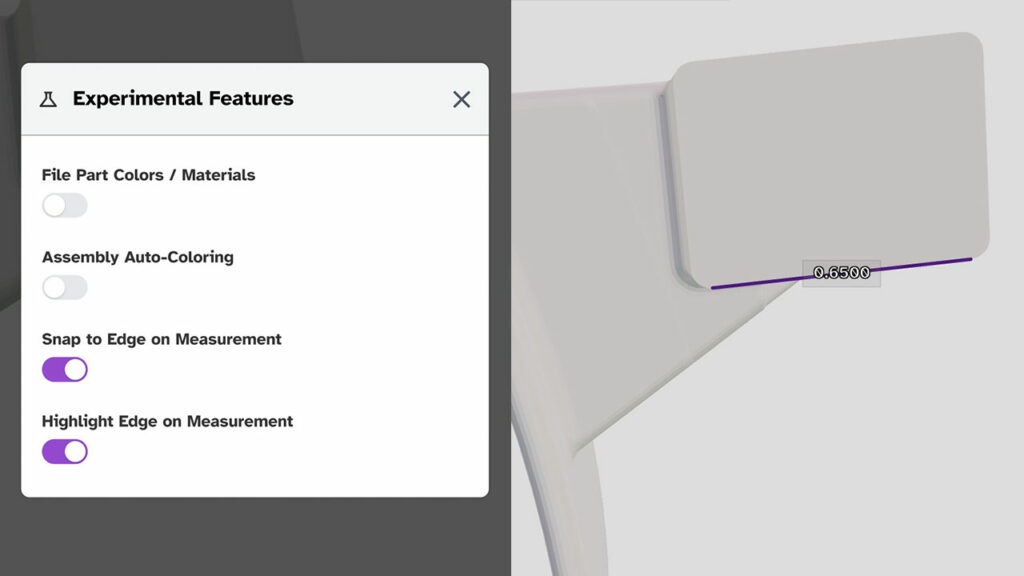
When you turn this on — measurements in Revaly will automatically “snap” to the nearest end-point or mid-point — making it much easier to measure the edge of a part or the distance between two important features.
To make it easier to know when you’re snapping to an edge, the edge is also highlighted in a friendly purple color. We hope to make the snapping behavior even easier to use in the future.
Other Features
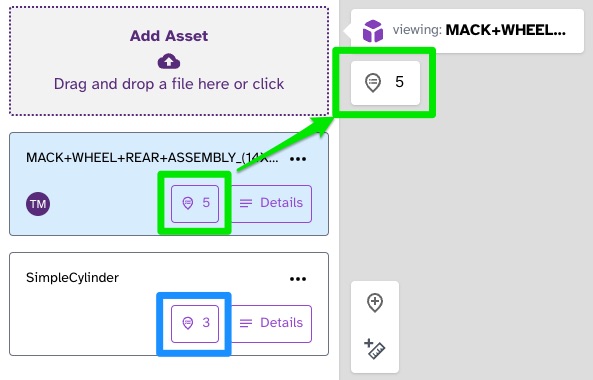
Annotation count on a 3D File
You can now easily see the number of annotations on an asset and quickly jump inside the annotation menu by clicking the button on the asset card.
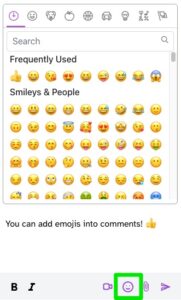
Add Emoji in Comments
You can now put emojis in chat‼️ 😁 🎉 by clicking the emoji icon at the bottom of chat boxes.
Bug Fixes
While we love to ship features, we’re also constantly refining what we already have to make it easier to use in every way imaginable.
- Fix for Previously Uploaded Assets Loading forever.
- Performance fixes related to Authorization and general performance improvements across Revaly
- Fixed issue with inability to delete Annotations from the sidebar.
What’s Next
- Even better measurement: Measuring Curves, Measuring Circle / Ellipse Radii
- More import types — SLDPRT, CATPART, multi-file .ZIP, and more…
- We are currently building a more detailed knowledge base; we hope to share this with you soon
- Video Calling – we know….. it’s coming
- Ability to remove users from organizations
- Reactions to messages and annotations
Report a Bug
We work hard to catch every bug before release, but sometimes they sneak in. If something doesn’t work the way you think it should, please report it to us by submitting a bug report using the question mark button inside Revaly or reach out to us at support@revaly.com.
Knowledge Base
Not sure how to do something in Revaly? Check help.revaly.com – we have guides and detailed information on how to get the most out of Revaly.
Want to join the team?
Like what you see here, and want to join the team? Check out our job openings on our Careers page.