It’s been a while, but that doesn’t mean we haven’t been hard at work adding new features and improving old ones. We also had a big announcement last week (read more here), and we can’t wait for many more… coming soon!
Now let’s get into the changes.
🧈 Smooth Travel
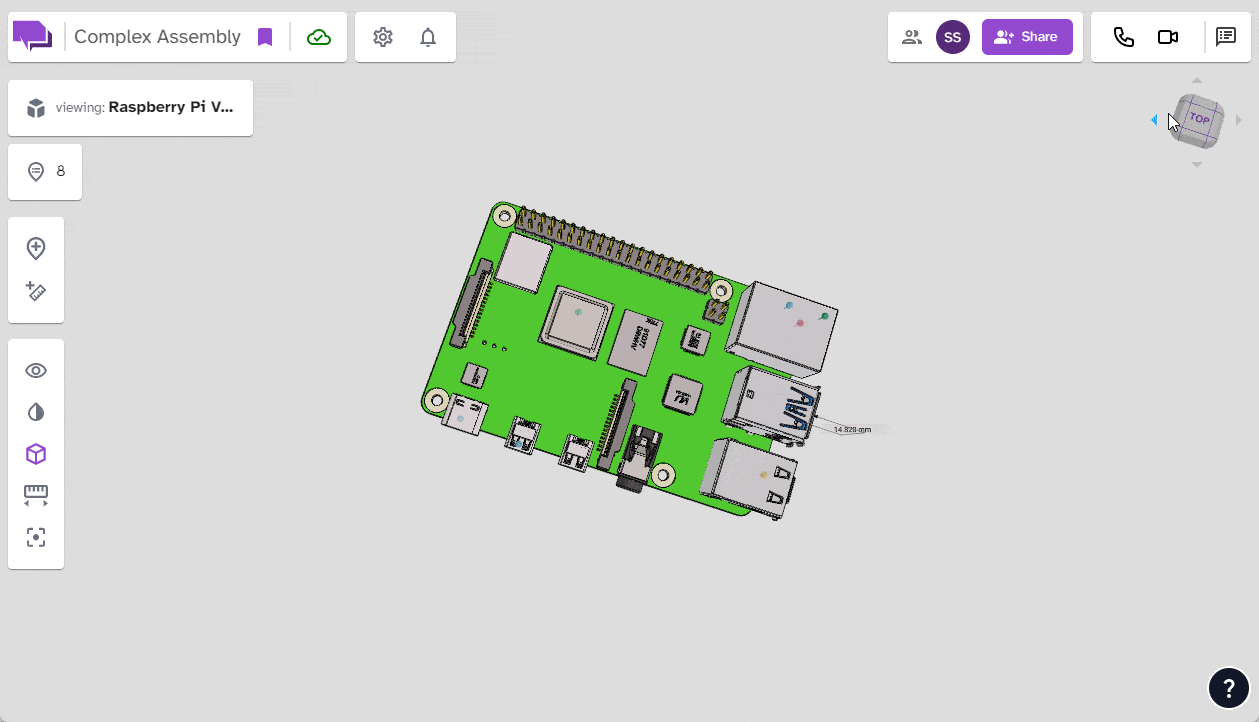
Teleportation is confusing. In our recent update, we ditched teleportation in favor of a smooth glide to your target location. Whether you’re clicking the (new and improved!) ViewCube, or an Annotation in the sidebar — you’ll slide right to where you’re supposed to, and keep that oh-so-valuable spatial context.

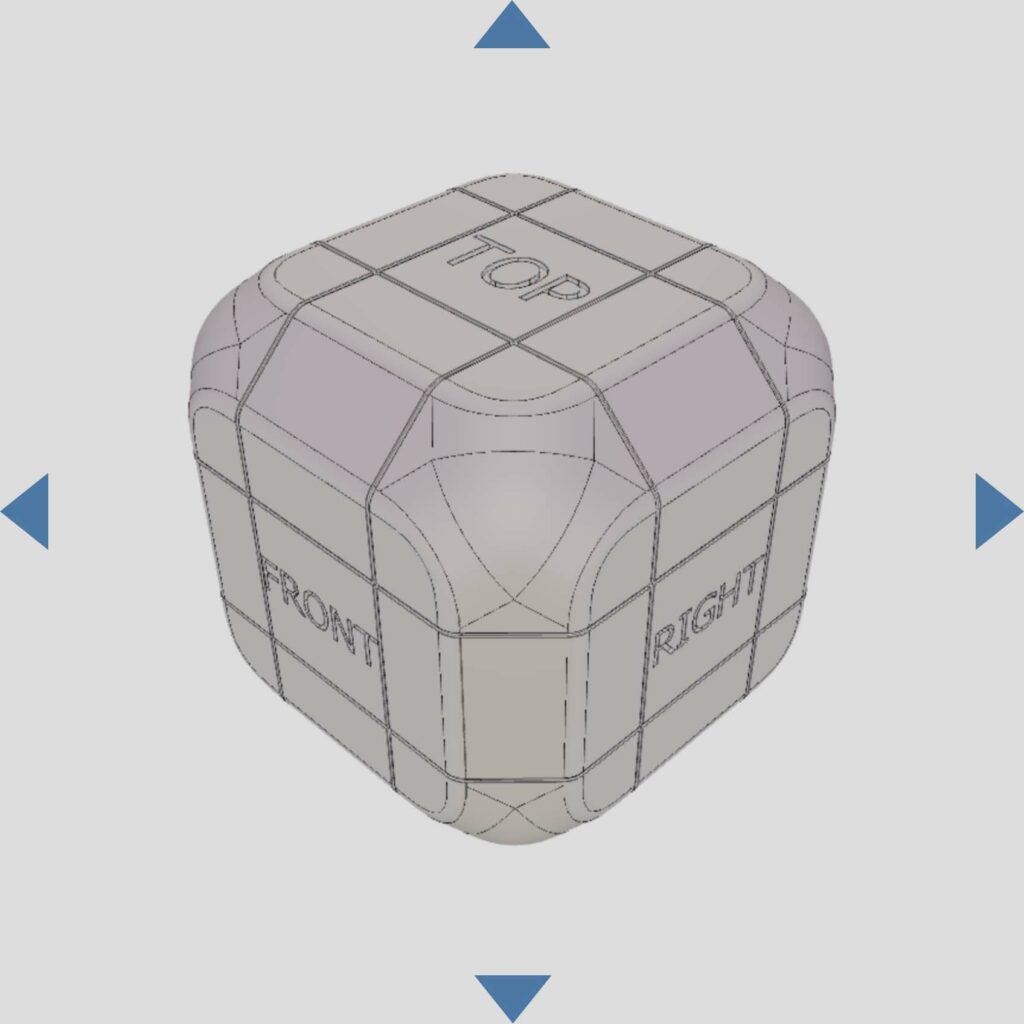
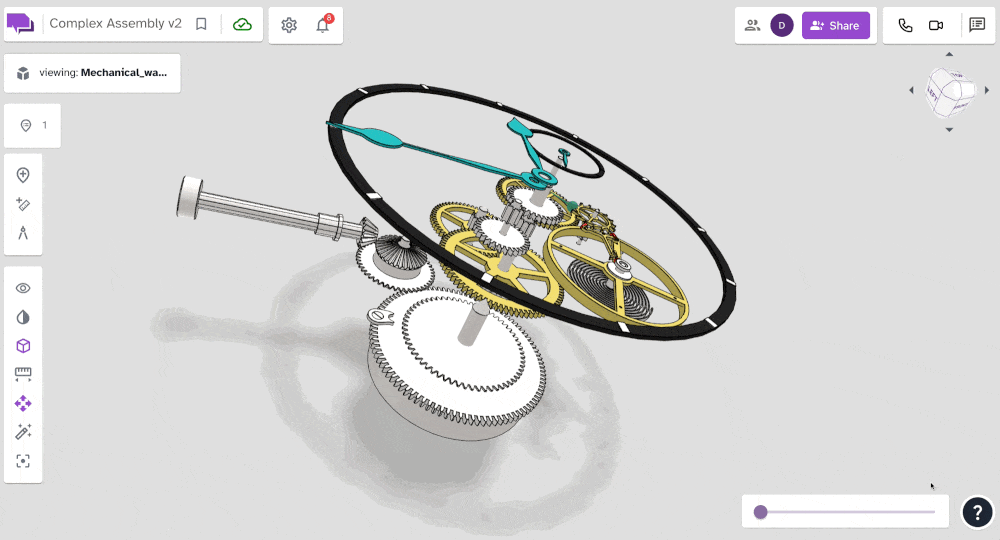
🔍 View Cube Improvements
With the updated view cube, along with cinematic movement, you can now get the perfect view of your asset with ease. Click on any one of the 26 pre-calculated positions to be smoothly taken right to that view — or click and hold on the directional arrows to smoothly rotate the part in the direction of your choosing.
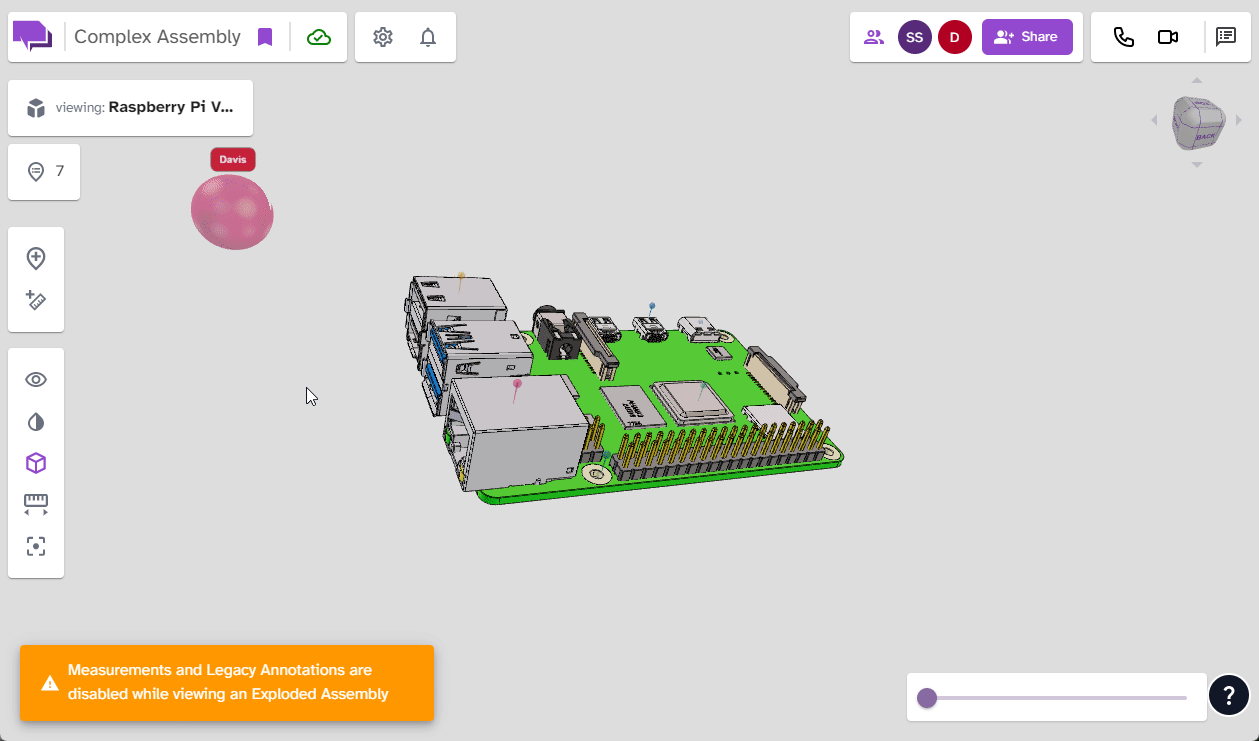
💣 Exploded View Annotations
Annotations are now linked to their position when using exploded view, so no matter how the part is displayed the annotation is always in the right place. If the annotation was placed when the asset was in exploded view, this is now reflected when it’s selected from the annotation drawer.
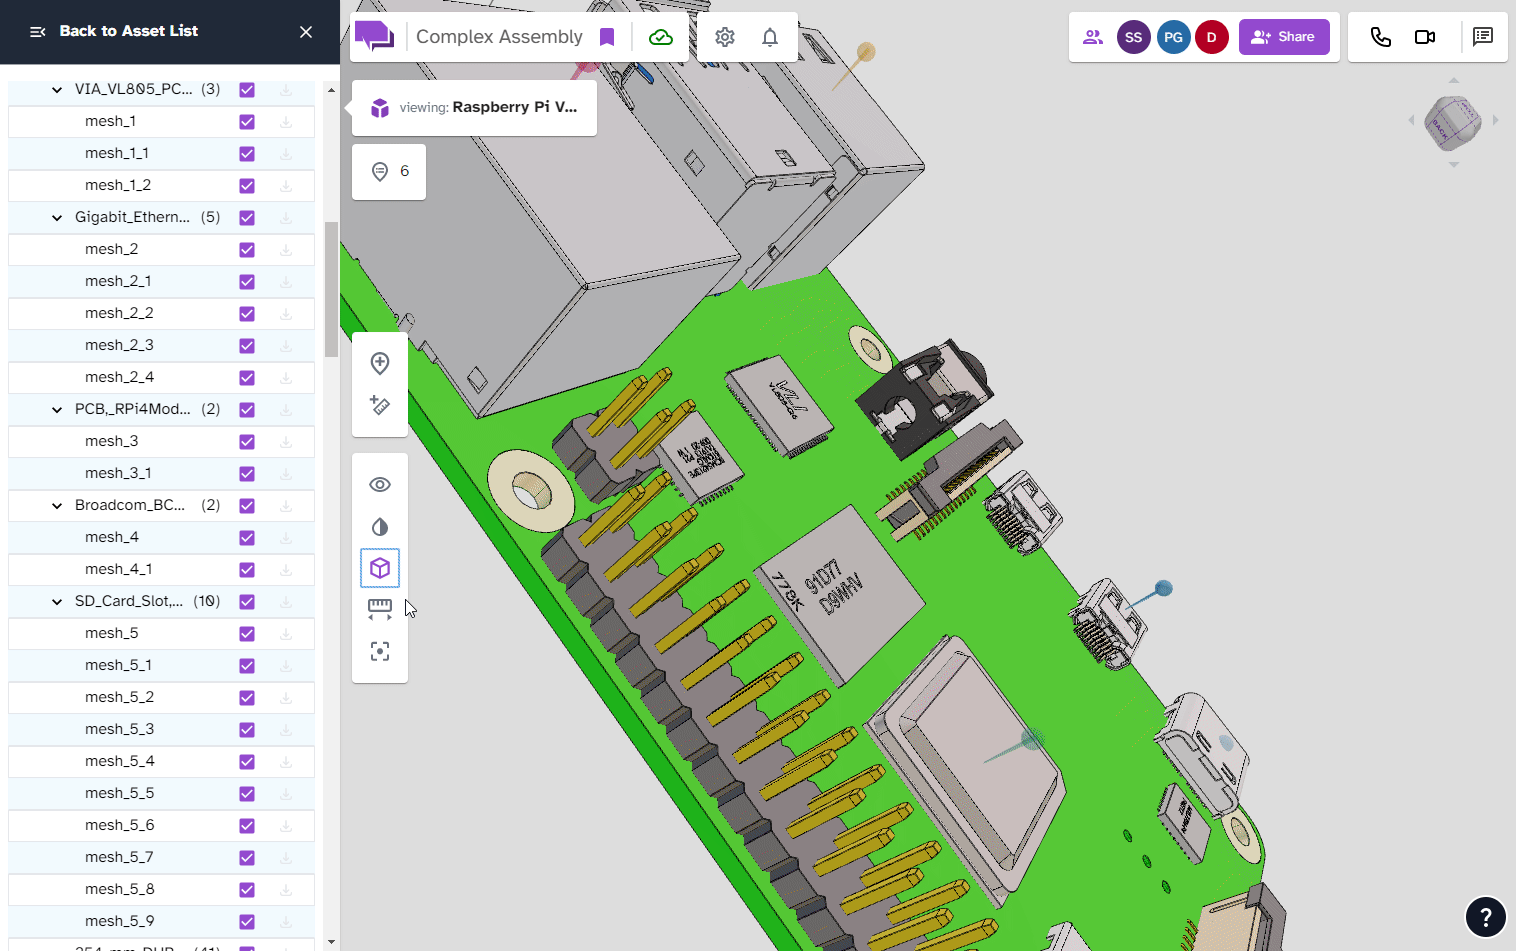
🌲 Hover Highlights in the Assembly Tree
Pinpointing the exact layer of an assembly has never been easier. You can now see a highlighted view of each component of an assembly by hovering over the layer in the assembly details.
➕ Invite to Org as a Guest
You can now add users to your organization as guests, rather than everyone having to be admins. You can see this option by using the dropdown in the invite members module.
Knowledge Base
Not sure how to do something in Revaly? Check help.revaly.com – we have guides and detailed information on how to get the most out of Revaly.
Report a Bug
We work hard to catch every bug before release, but sometimes they sneak in. If something doesn’t work the way you think it should, please report it to us by submitting a bug report using the question mark button inside Revaly or reach out to us at support@revaly.com.
Want to join the team?
Like what you see here, and want to join the team? Check out our job openings on our Careers page.